EN
EN
 AR
AR
 BG
BG
 HR
HR
 CS
CS
 DA
DA
 NL
NL
 FI
FI
 FR
FR
 DE
DE
 EL
EL
 HI
HI
 IT
IT
 JA
JA
 KO
KO
 NO
NO
 PL
PL
 PT
PT
 RO
RO
 RU
RU
 ES
ES
 TL
TL
 IW
IW
 ID
ID
 LT
LT
 VI
VI
 TH
TH
 TR
TR
 AF
AF
 MS
MS
 KM
KM
 LO
LO
 MY
MY

How to install ASA roof sheet on a sloped roof structure?
Start With the Roof Deck, Not the Box of Panels
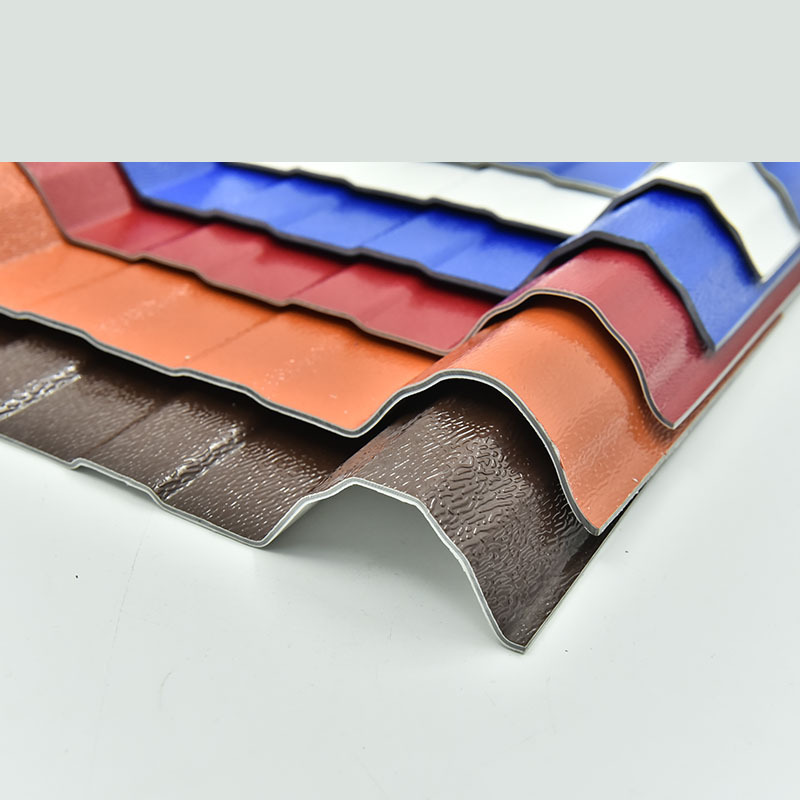
An ASA roof sheet looks simple from the ground, but the slope underneath decides how it performs after storms. Before panels go up, walk the deck, check purlin lines, and confirm pitch with a digital level. A twisted or soft substrate will telegraph through thin plastic panels, especially on long slopes where thermal movement adds stress. Store panels flat, out of direct sun, and let them relax before cutting. On retrofits, remove old flashing, rotten battens, and loose fasteners. Any low spot that holds water becomes a problem once the ASA roof sheet is locked down. The goal is a straight, dry, well-ventilated plane that lets each course sit flat without forcing.
Check Pitch, Overlap, and Water Path Before Fixing Anything
Pitch controls how much water the lap handles. Steeper roofs shed faster and can use shorter end laps, while low slopes need longer laps and more care at side joints. Run panels from eave to ridge, work into the prevailing wind, and keep side laps facing away from the weather. The table below offers practical starting points. Local wind uplift, rainfall intensity, and panel profile still govern, so fixing schedules should come from project calculations, not generic rules.
Roof pitch |
End lap Side lap |
Side lap |
Fastener spacing |
Fastener location
|
10 to 15 degrees |
200 mm |
one corrugation |
600 mm |
crest
|
15 to 25 degrees |
150 mm |
one corrugation |
750 mm |
crest
|
15 to 25 degrees |
120 mm |
one corrugation |
900 mm |
crest
|
Above 35 degrees |
100 mm |
one corrugation |
900 to 1000 mm |
crest
|
On a chemical plant retrofit in southern China, a crew found that 900 mm purlin spacing looked fine during installation but showed visible deflection after a hot afternoon. Adding one purlin row and moving to 750 mm spacing removed the oil-canning and helped end laps sit flatter. The panels were fine. The support layout was not.
Set Out the First Course and Keep the Lines Honest
The first course sets the rhythm for everything above it. Snap a chalk line parallel to the eave, not the ridge, because older ridges are often out of square. Leave a small overhang past the fascia so water clears the wall, but not so much that wind grabs the edge. Pre-drill holes at the crest, about 2 mm larger than the screw shank, to allow movement. Clear swarf immediately. Plastic panels scratch easily, and trapped metal chips can stain the surface. A simple template made from scrap batten speeds drilling and keeps holes aligned. Check the first panel for square before fixing the second. Correcting one panel early is easy. Correcting ten later is expensive.
Fasten at the Right Point With the Right Washer
Fasteners are where most leaks begin. Use corrosion-resistant screws with bonded EPDM washers, and drive them at the crest, not in the pan. The washer should compress slightly, just enough to seal, not enough to dish the panel. Overdriving cracks the sheet and creates a water path. In high-wind zones, spacing needs to follow ASCE 7 uplift pressures, with tighter patterns at corners, edges, and ridge zones. Coastal or industrial sites often call for 304 or 316 stainless steel screws. Galvanized screws may work in dry inland areas. A torque-controlled driver helps, but the real check is visual. If the washer looks like a flat pancake, back it off and replace the screw. Sealant is a detail, not a structural solution.
Handle Curves, Ridges, and Penetrations Without Guessing
Ridges, hips, valleys, and pipe boots are where a sloped roof changes direction and water concentrates. Cut ASA sheets cleanly with a fine-tooth blade or shears, then remove burrs. At ridges, use matching caps and foam closures where the profile allows, and keep fasteners covered by the cap. At valleys, increase the lap and keep the water path wide. For pipe penetrations, set the flashing on solid support, seal under the flange, and fasten through high points. Avoid walking on unsupported panel middles. Use crawl boards. If cutting on the roof, catch dust and offcuts. Small plastic chips left in a gutter can block drainage and push water under laps. That failure rarely shows up on day one, but it shows up.
Inspect the Finished Slope Like a Skeptic
A finished roof should be checked before the crew leaves. Start at the eave and look along each lap for gaps, lifted edges, and overdriven washers. Spray water on a test area. Check ridge caps, gable trim, and flashings. Verify that all swarf has been removed. Accelerated weathering data for ASA cap layers, such as tests under ASTM G154 or ISO 4892-2, gives an indication of color and surface retention, but no lab test replaces correct installation. In high-wind or high-rain areas, a third-party inspector can review the fixing pattern against ASCE 7 and project drawings. For contractors who want fewer surprises, Gongli focuses on virgin raw materials, in-house compounding, and consistent batch control, which helps keep panel thickness, color, and profile stable from one delivery to the next.
Recommended Products
Hot News
-
How to choose the right roof tile
2024-01-24
-
PVC Plastic Tiles: The Ideal Roofing Material
2024-01-24
-
The Essentials of Synthetic Resin Tile Manufacturing
2024-01-24