EN
EN
 AR
AR
 BG
BG
 HR
HR
 CS
CS
 DA
DA
 NL
NL
 FI
FI
 FR
FR
 DE
DE
 EL
EL
 HI
HI
 IT
IT
 JA
JA
 KO
KO
 NO
NO
 PL
PL
 PT
PT
 RO
RO
 RU
RU
 ES
ES
 TL
TL
 IW
IW
 ID
ID
 LT
LT
 VI
VI
 TH
TH
 TR
TR
 AF
AF
 MS
MS
 KM
KM
 LO
LO
 MY
MY

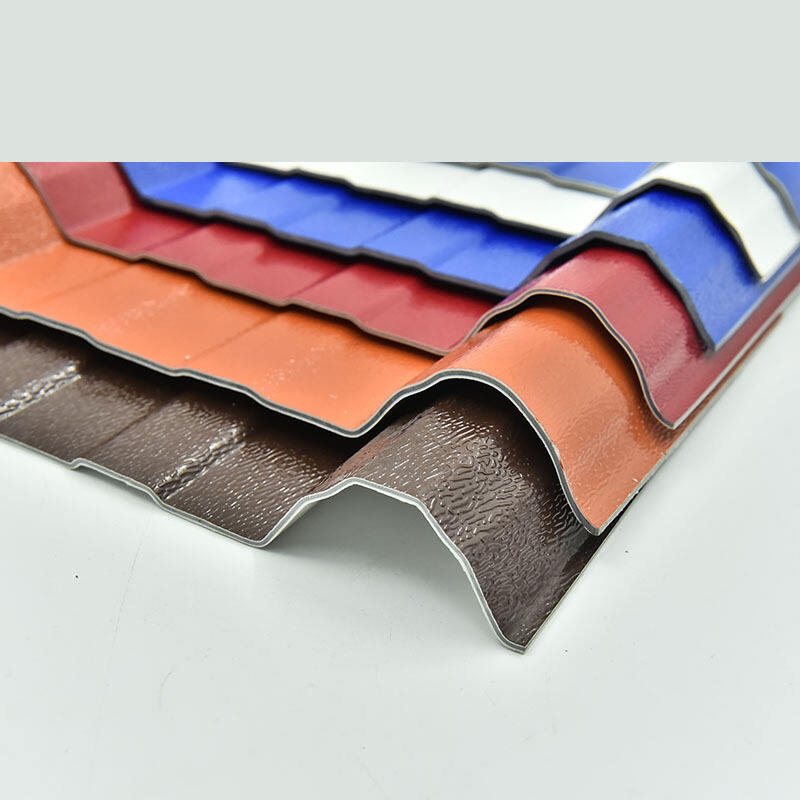
How to install UPVC roofing sheets correctly?
Preparing the Roof Structure for UPVC Roofing Sheets
Assessing structural integrity before installing UPVC roofing sheets
Before installing a UPVC roofing system, it's essential to check if the existing roof frame can handle at least 1.5 kN per square meter of weight. Structural engineers often recommend running calculations or consulting building codes when determining proper beam spacing between supports and checking how solid those trusses really are. Wooden parts need special attention too. Any signs of rotting wood, rust spots on metal components, or evidence of insect damage should be fixed right away. Left alone, these problems might shorten the life expectancy of a UPVC roof by somewhere around 40 percent, as various industry reports have shown over time. Taking care of these issues upfront saves money in repairs down the road.
Clearing and cleaning the roof surface for optimal installation conditions
To get started, scrub away any dirt, leftover sealant residue, and algae buildup with a stiff brush and give it a good rinse at under 80 psi pressure. For those rusty patches on metal parts, apply some phosphoric acid converter according to manufacturer instructions. Make sure everything is thoroughly dry first. In normal weather conditions around 20 to 25 degrees Celsius, most surfaces will be ready after about two days. The difference cleaning makes is pretty significant too. Studies show that properly cleaned surfaces stick better to UPVC sheets by roughly 30% over dirty ones, which explains why so many roofing manuals stress this step so much.
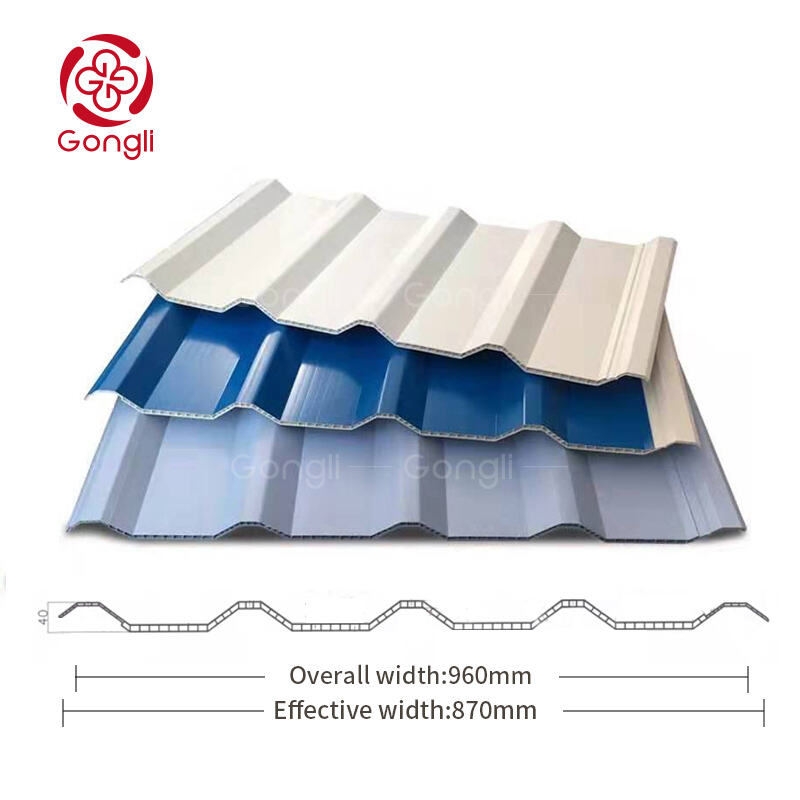
Checking purlin spacing and alignment to support mechanically fastened UPVC sheets
Check that the spacing between purlins matches what the manufacturer recommends, usually somewhere between 600 and 900 millimeters for those standard 1.2 mm thick UPVC sheets. When setting things up, get out a laser level and make sure everything lines up straight, allowing no more than 3 mm difference over each 3 meter stretch. If there's any doubt about stability while working on the roof, don't hesitate to put in some temporary supports until everything settles properly. The folks who did some testing found that when installers take care with their purlin setup, they cut down on sheet warping problems by around 78% in controlled environments. That kind of attention makes all the difference in the long run.
Essential Tools and Materials for UPVC Roofing Installation
Tools Needed for Measuring, Cutting, and Handling UPVC Roofing Sheets
Precision tools designed for polymer materials are essential for successful UPVC roofing. Key tools include:
- Measuring tape and laser levels for accurate alignment
- Circular saws with fine-tooth carbide blades to prevent chipping
- Spring-loaded screw guns with torque adjustment (4–6 Nm recommended)
- EPDM-gasket rivet guns for leak-proof secondary fastening
- Non-marring suction lifters to avoid scratching during handling
Improper tool selection accounts for 34% of installation defects (Roofing Materials Journal, 2023). Always wear cut-resistant gloves and safety glasses when cutting UPVC sheets.
Materials Required: Fasteners, Sealants, Flashing, and Ridge Capping for UPVC Roofs
Use UPVC-specific components to manage thermal movement and prevent water infiltration:
| Component | Specification | Purpose |
|---|---|---|
| Fasteners | Stainless steel screws with EPDM washers | Accommodates material expansion |
| Sealant | UV-resistant polyurethane | Seals overlaps and penetrations |
| Flashing | Pre-formed aluminum | Channels water at roof junctions |
Follow critical spacing guidelines:
- Fasteners every 30–40 cm along purlins
- 15 cm overlap at horizontal joints
- 10 mm expansion gap at sheet ends
For large-scale projects, thermal movement calculations help determine exact material needs. Always source materials from certified UPVC roofing suppliers to ensure compatibility.
Measuring, Cutting, and Positioning UPVC Roofing Sheets
Accurate Measurement Techniques for a Seamless Step-by-Step UPVC Roofing Installation
When measuring a roof, always do it twice - once with a good quality laser measure and again with a properly calibrated tape measure. Don't forget those overhang areas either, they usually stick out around 5 to 7.5 centimeters and play a big role in how water drains off properly. To mark where things go, chalk lines work best. Keep an eye on those gaps between sections too because anything bigger than 3 millimeters might let moisture sneak through eventually. Complex roof designs really benefit from pre-cut templates since they help everything line up correctly. Most professionals will tell you this makes life easier. According to recent industry data from the 2024 Building Materials Report, nearly 9 out of 10 installers have seen much better outcomes when using these templates during complicated installations.
Safe Cutting Practices Using Recommended Tools to Avoid Damaging UPVC Sheets
Cut UPVC sheets with a circular saw (1,800–2,500 RPM) fitted with a fine-tooth carbide blade. Support sheets on foam-backed sawhorses to prevent edge chipping. Clamp securely for angled cuts and follow marked guidelines. Wear ANSI-certified goggles and gloves–improper cutting increases micro-fractures by 40% (Safety in Construction Journal, 2023).
Handling and Placing Sheets With Care to Prevent Cracks or Deformation
When lifting panels, always go vertical with suction handles and spread the weight evenly across all four contact points. Dragging them around is a big no-no since friction damage can cut UV resistance down by nearly 15%, according to some polymer research folks found back in 2023. Start installing from the eaves first, making sure those interlocking parts fit together pretty close - we're talking about a 2mm margin here. Thermal expansion is something worth keeping in mind too. The material expands at roughly 0.065 mm per meter for every degree Celsius increase. That means leaving about 5mm space between joints becomes important whenever temps climb above 27 degrees Celsius. A little extra room goes a long way toward preventing warping issues later on.
Securing and Aligning UPVC Roofing Sheets Properly
Laying the First Row of UPVC Roof Tiles Correctly for Consistent Alignment
Align the first sheet with the roof edge, allowing a 25–50 mm overhang to direct rainwater away from underlying structures. Use chalk lines or temporary markers to maintain straight alignment. Ensure starter sheets follow manufacturer pitch recommendations to optimize drainage and minimize debris buildup.
Overlapping and Aligning Sheets to Ensure Watertight Protection
Maintain a minimum overlap of 150–200 mm on side laps and 200–300 mm on end laps to prevent water ingress. Stagger joints between rows by at least 300 mm to distribute stress. Align raised ribs vertically to avoid pooling, which accelerates degradation.
Mechanically Fastening UPVC Sheets: Fastener Type, Placement, and Torque Control
Use stainless steel or polymer-coated screws with EPDM washers to resist corrosion and accommodate expansion. Position fasteners 50–75 mm from sheet edges and tighten to 2.5–3 N·m using a calibrated drill. For corrugated sheets, secure every third peak to balance wind resistance and flexibility.
Avoiding Common Errors Like Over-Tightening or Misaligned Fasteners in PVC Roofing
Over-tightening creates stress points that lead to cracking during temperature extremes (below 5°C or above 40°C). Misaligned screws cause gaps that widen by 1–2 mm annually (Roofing Materials Institute, 2023). Inspect fasteners every 6–12 months for washer wear or loosening due to UV exposure.
Sealing, Finishing, and Final Quality Checks
Sealing Joints and Fastener Points to Prevent Water Ingress in UPVC Roofs
Make sure to seal those overlaps and where fasteners go through the material. If left open, these gaps can let anywhere from 120 to 180 liters of water seep in each year for every meter across the roof (Roofing Materials Association, 2023). For the best results, go with a butyl based sealant that works well with how UPVC expands and contracts. Run it in nice continuous lines along all the overlapping sections. When dealing with fastener spots, follow what the industry suggests about nozzle application methods. Apply some sealant both before putting things in place and again afterwards too. This creates those strong seals that resist compression over time.
Installing Ridge Capping and Flashing for Complete Weather Resistance
Ridge capping requires a 3:12 minimum slope for effective runoff. Pre-bent aluminum flashing should extend 150 mm beyond roof edges and be secured with UV-stable adhesive to resist wind uplift. In valleys, use double-layer sealing with cross-weave reinforcement tape–this method reduces leakage risk by 47% compared to single-layer approaches.
Final Inspection: Avoiding Common Mistakes in UPVC Roofing Sheet Installation
Conduct a three-stage verification:
- Torque audit: Randomly check 10% of fasteners for tightness (target: 2.5–3 N·m)
- Water test: Simulate rainfall with a 500 L/hour flow across slopes
- Thermal movement check: Use measurement pins to confirm Ϸ4 mm expansion gap retention
Document findings using checklists with photo evidence at each critical junction, as outlined in quality assurance protocols. This creates actionable repair maps if gaps exceeding 5 mm or sealant discontinuities are detected.
FAQ
What structural considerations should be taken before installing UPVC roofing sheets?
Before installation, ensure that the roof frame can handle at least 1.5 kN per square meter of weight, check beams and trusses, and inspect for any signs of damage or decay in wooden parts.
How should the roof surface be prepared for UPVC roofing sheet installation?
The roof surface should be thoroughly cleaned, removing dirt, algae, and any residue, and dried completely. Rusty patches on metal parts should be treated according to manufacturer instructions.
What tools are necessary for measuring and cutting UPVC sheets?
Essential tools for successful installation include measuring tape, laser levels, circular saws with fine-tooth carbide blades, and EPDM-gasket rivet guns.
How can thermal movement be managed in UPVC roofing?
Thermal movement can be managed by using UPVC-specific fasteners and leaving appropriate expansion gaps in the roofing material.
How is the first row of UPVC roofing sheets aligned?
The first row should be aligned with the roof edge, allowing a 25–50 mm overhang, and using chalk lines or temporary markers for consistent alignment.
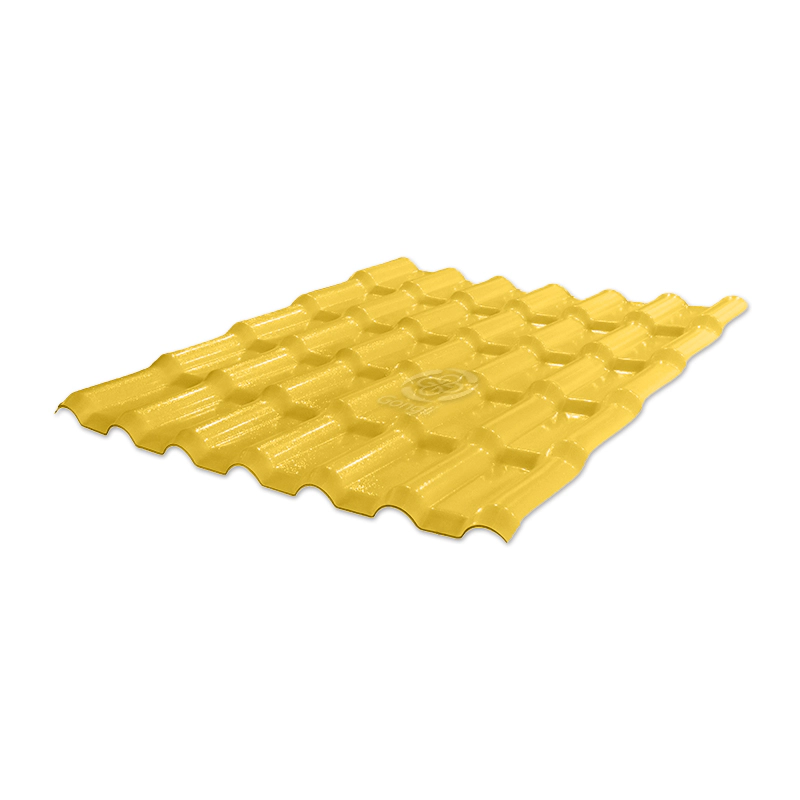
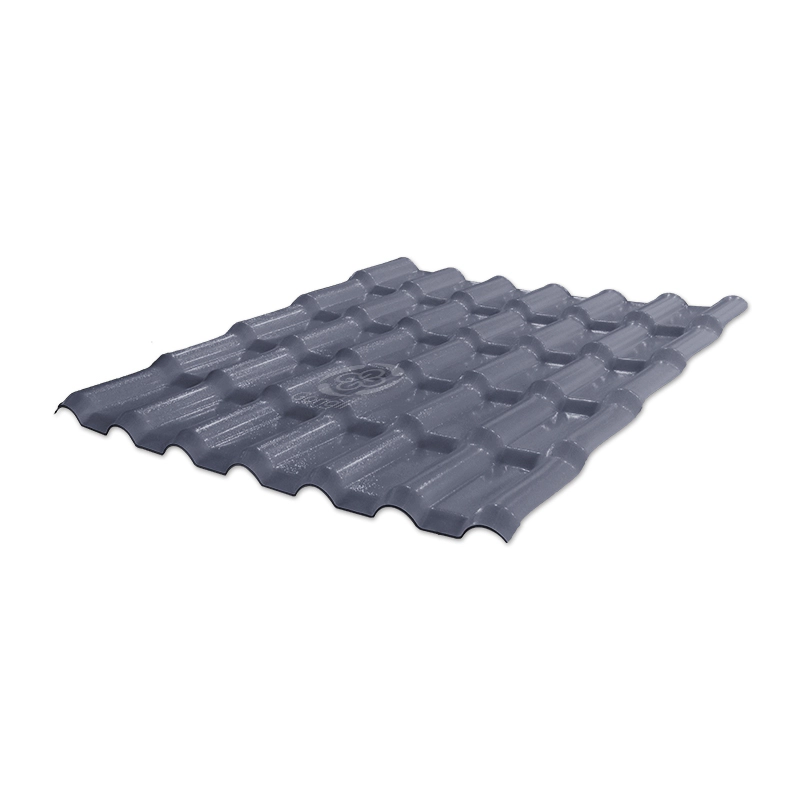
Recommended Products

Hot News
-
How to choose the right roof tile
2024-01-24
-
PVC Plastic Tiles: The Ideal Roofing Material
2024-01-24
-
The Essentials of Synthetic Resin Tile Manufacturing
2024-01-24