EN
EN
 AR
AR
 BG
BG
 HR
HR
 CS
CS
 DA
DA
 NL
NL
 FI
FI
 FR
FR
 DE
DE
 EL
EL
 HI
HI
 IT
IT
 JA
JA
 KO
KO
 NO
NO
 PL
PL
 PT
PT
 RO
RO
 RU
RU
 ES
ES
 TL
TL
 IW
IW
 ID
ID
 LT
LT
 VI
VI
 TH
TH
 TR
TR
 AF
AF
 MS
MS
 KM
KM
 LO
LO
 MY
MY

How to install PVC gutters effectively?
Planning and Preparing for PVC Gutter Installation
Measuring roofline dimensions and mapping drainage zones
Start off by getting accurate measurements of the entire roof edge either with a laser tool or good old fashioned tape measure. Make sure to jot down every angle, corner detail, and those tricky overhang sections. When figuring out how much gutter material will be needed, remember to factor in where the downspouts should go - generally speaking, plan for one downspout every 40 feet along the gutter run. Take time to observe how water flows across the property during rainstorms. Look specifically at spots where puddles tend to form around building foundations since these indicate natural drainage paths. Getting the right slope is absolutely critical here. Most experts recommend about a quarter inch drop for every ten feet of gutter length so water actually moves toward the downpipes instead of sitting there. Use chalk lines to mark out high and low points on the fascia boards. Keep in mind both the steepness of the roof (like an 8:12 pitch) and local weather conditions too. Areas with heavy rainfall often need about 20 percent more downspouts compared to what would normally be installed on flatter roofs in drier regions.
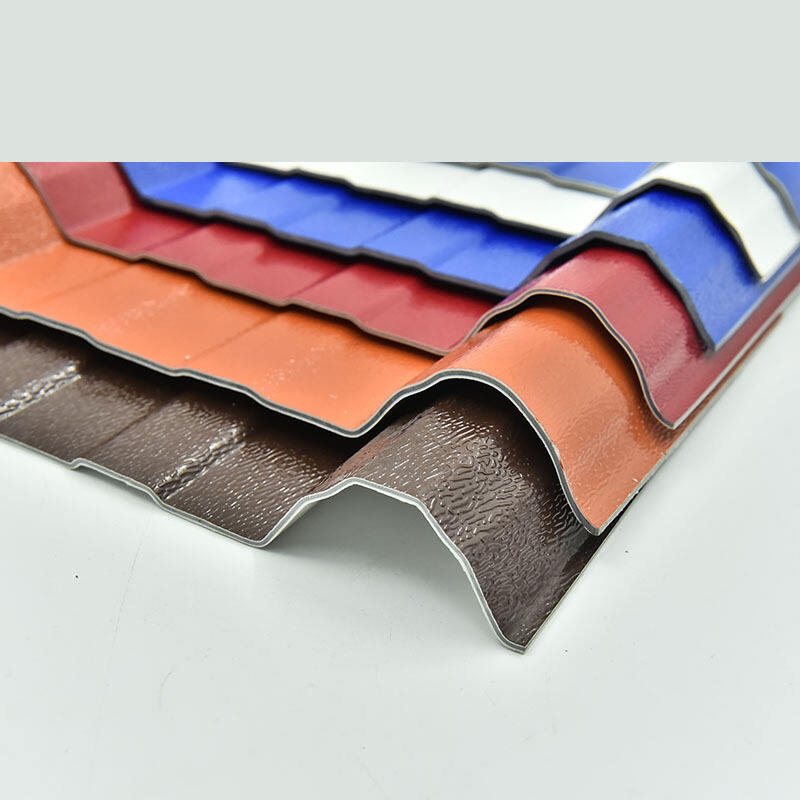
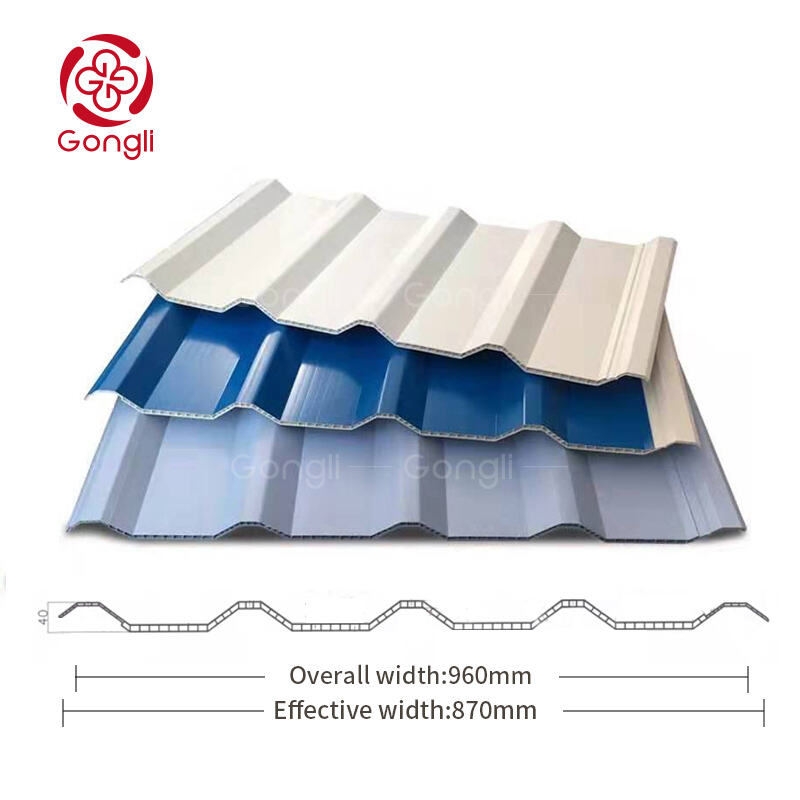
Selecting the right PVC gutter profile, size, and UV-resistant accessories
Choose between K-style (ogee) or half-round PVC gutter profiles based on architectural aesthetics and debris-shedding efficiency. Match gutter size to roof surface area using this capacity guide:
| Roof Area (sq ft) | Rainfall Intensity | Recommended PVC Gutter Size |
|---|---|---|
| < 1,000 | Low (< 4"/hr) | 5-inch |
| 1,000–1,500 | Moderate (4–6"/hr) | 5-inch with extra downspouts |
| 1,500 | High ( 6"/hr) | 6-inch |
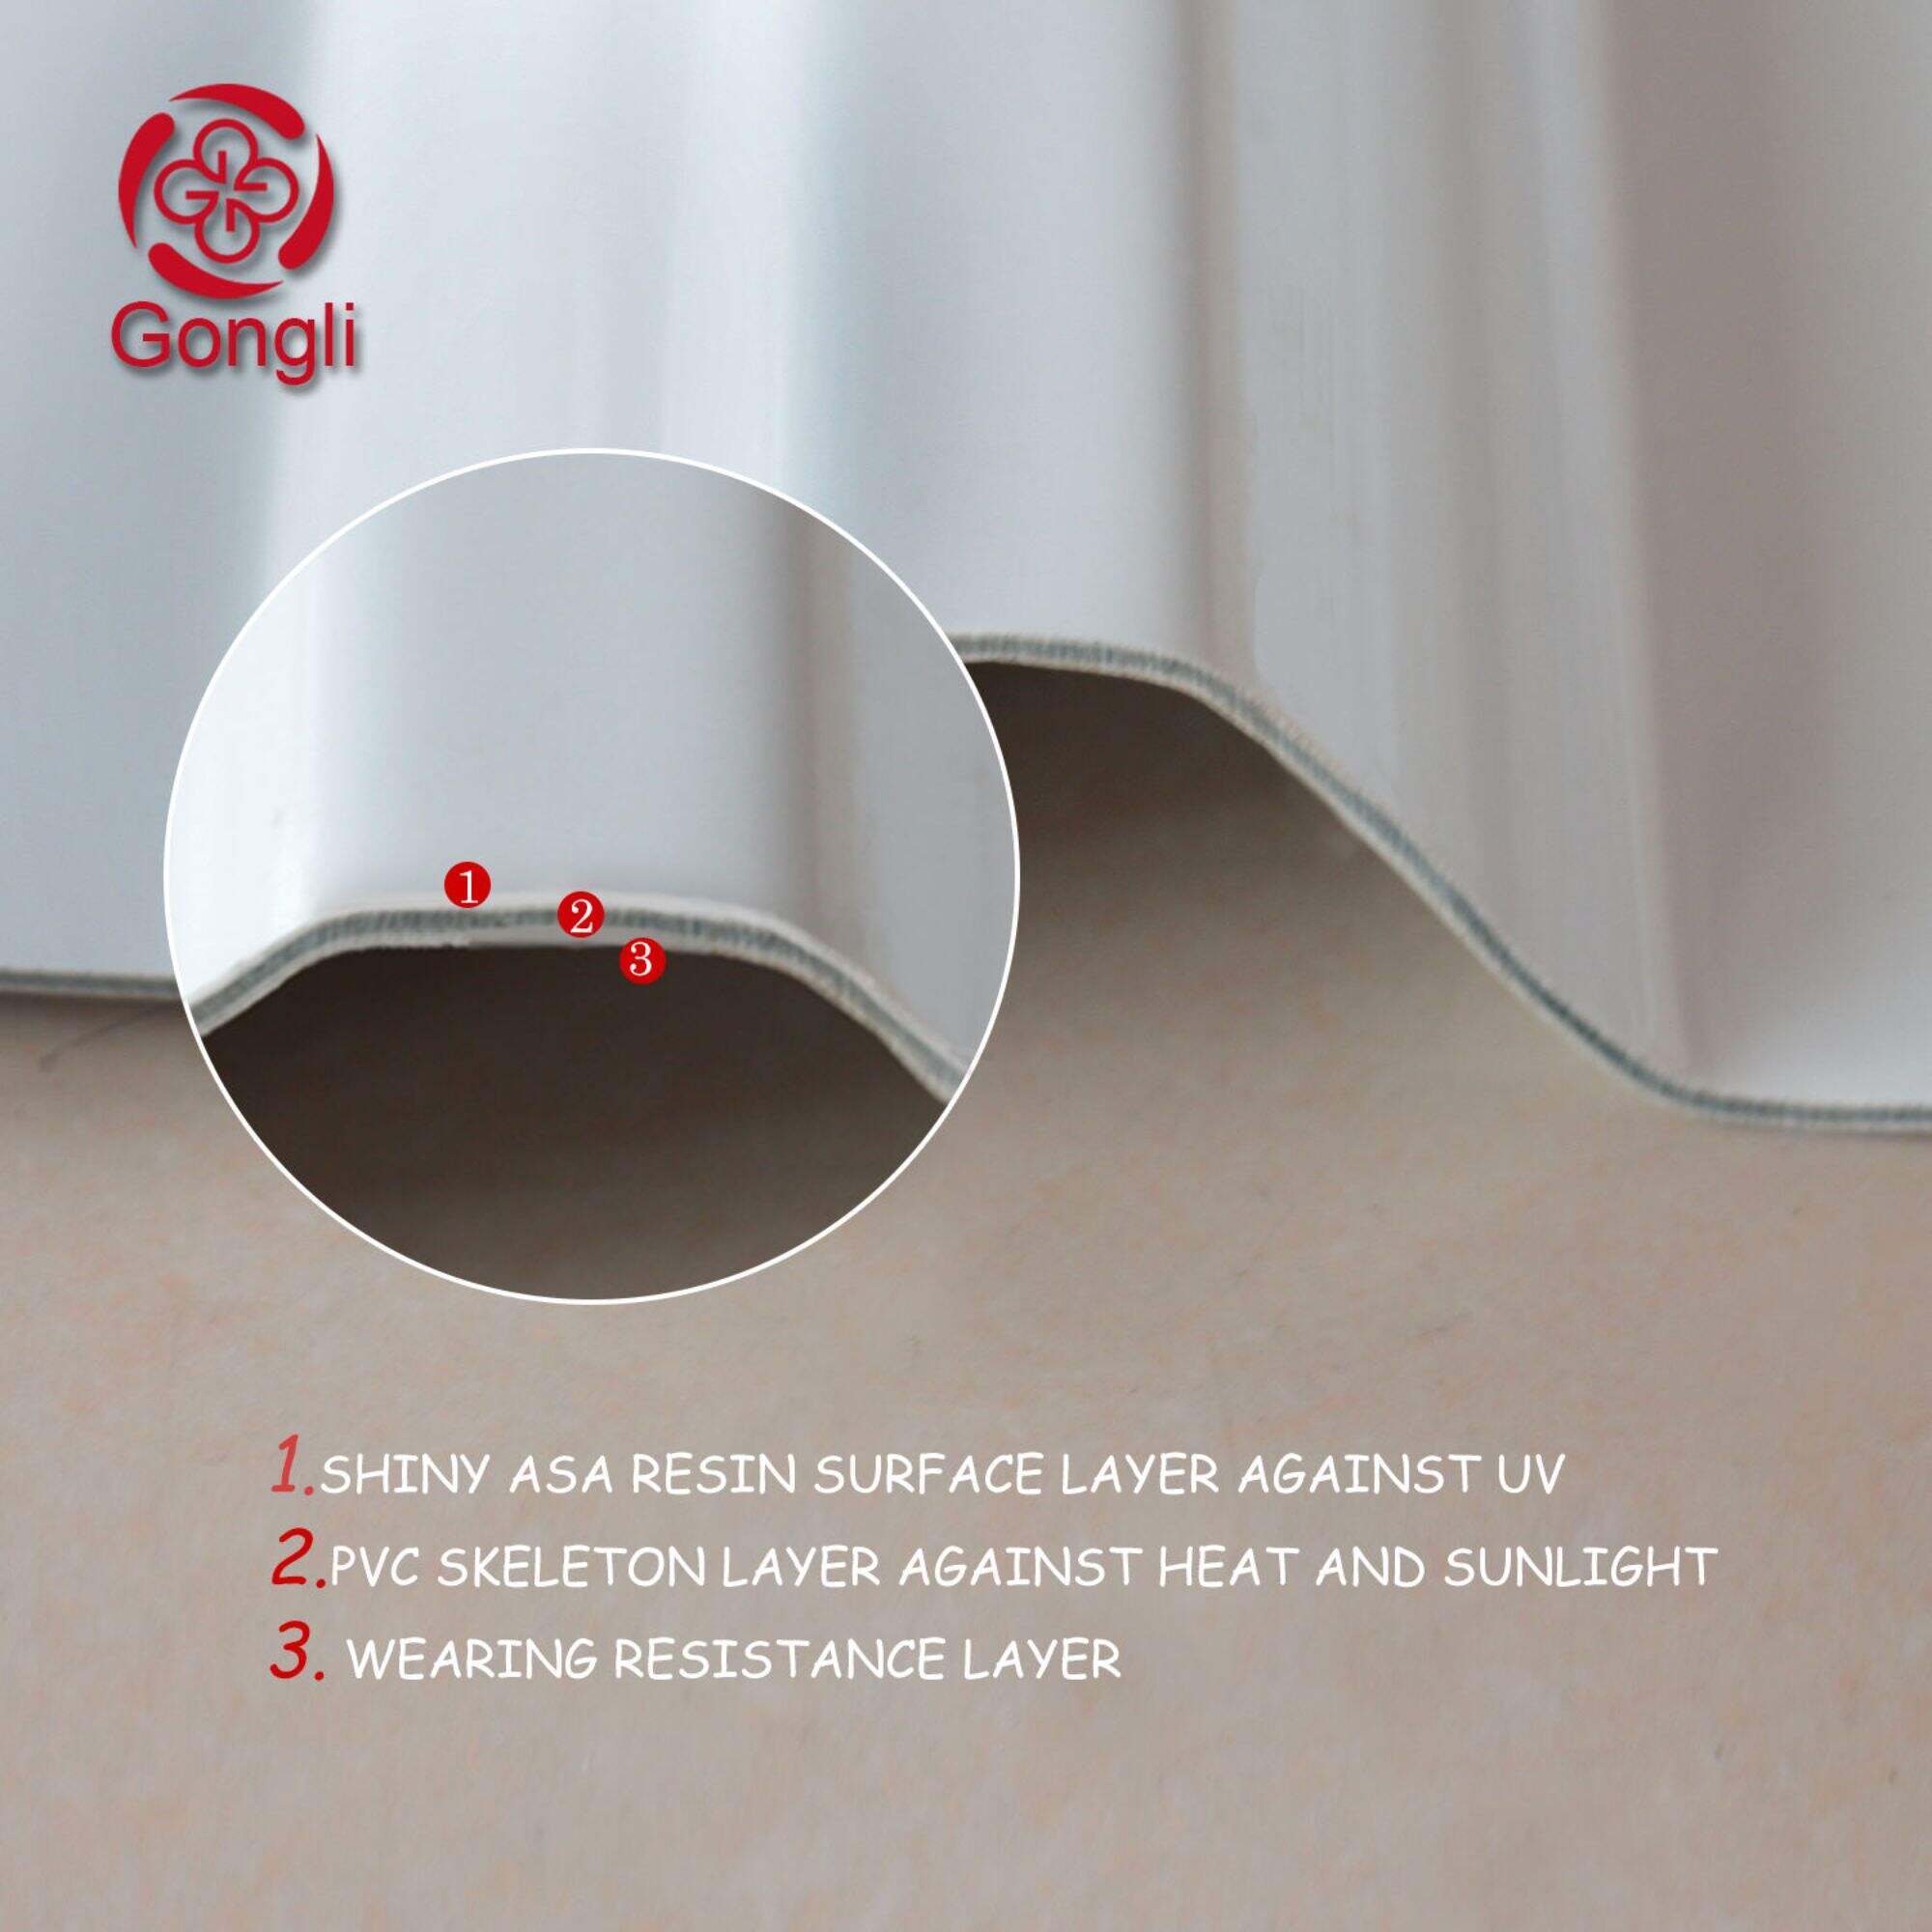
When working with PVC materials, it makes sense to go for those special UV resistant formulas first. Regular PVC tends to get brittle and lose its color when left out in the sun, especially on south facing walls where exposure is maximum. For accessories, look at expansion joints that can handle how much PVC expands and contracts with temperature changes around 0.000036 inches per inch per degree Fahrenheit. Better yet, stick with solvent weld connections instead of those mechanical fasteners because they create tighter seals without leaks. And don't forget about gutter systems either. Make sure end caps and those elbow pieces at downspouts are all made from matching polymer blends. This helps everything age consistently over time rather than having mismatched parts that degrade at different rates.
Executing the PVC Gutter Installation Process
Mounting fascia brackets with precise spacing and slope alignment
Attach those fascia brackets securely to the fascia board with screws that won't rust away over time. Keep them spaced no more than 24 inches apart so the whole system doesn't droop when there's a big rainstorm coming through. Now for the slope part important stuff here create a consistent downward angle about a quarter inch drop every ten feet heading towards where the downspouts will go. A laser level works great for this but a good old fashioned chalk line does the trick too if that's what's available. Getting this right means water flows properly instead of sitting around and causing problems later on. And don't forget to leave just a tiny bit of space, about an eighth of an inch, between each bracket end and the actual gutter pieces. That little gap lets everything expand naturally when temperatures change without cracking anything apart.
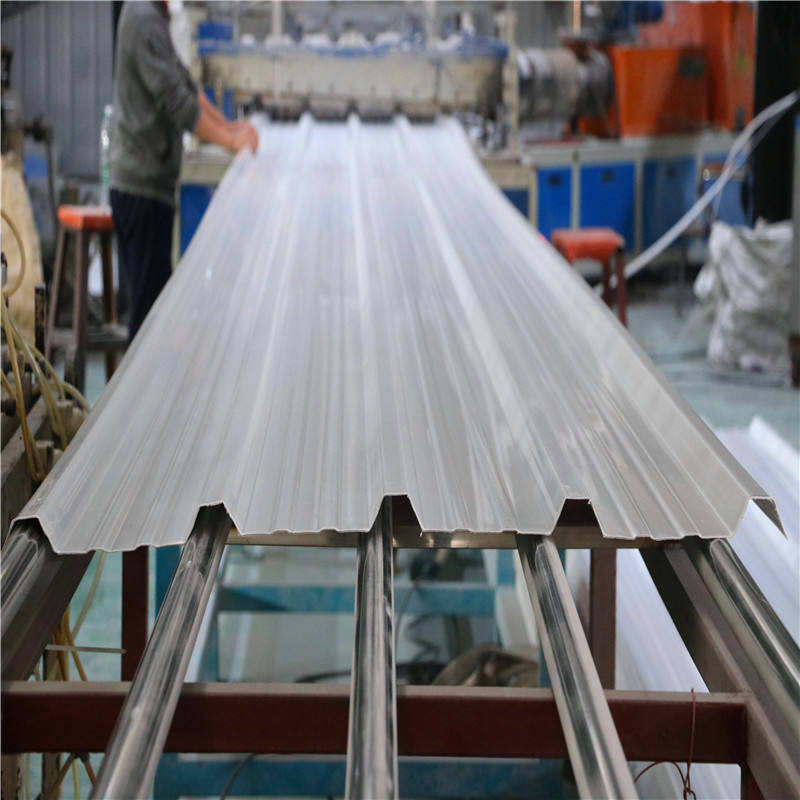
Cutting, assembling, and securing PVC sections using solvent-weld or snap-fit methods
When cutting gutter sections to size, grab a fine tooth saw and don't forget to smooth those rough edges after cutting so debris doesn't build up over time. If making permanent connections, follow what the manufacturer says about their special solvent cement. Apply it generously on both sides before pushing them together. The stuff actually bonds the PVC at a molecular level, creating those watertight seals we all want. Some folks prefer snap fit connectors instead though. These come with built in rubber gaskets and let us assemble things without tools, plus they handle expansion during temperature changes pretty well. Always remember to place joints right where the support brackets are located to keep everything from warping under stress. And definitely secure those end caps with stainless steel screws rather than regular ones which might rust away eventually.
Optimizing Drainage and Long-Term Performance of PVC Gutters
Designing proper slope while accommodating thermal expansion
Getting good drainage means maintaining a slope of about a quarter inch for every ten feet running toward those downspouts. This setup keeps water from pooling around the area and helps slow down how much debris builds up over time. Now when it comes to PVC piping, there's something important to remember. The material actually expands and contracts quite a bit depending on temperature changes. We're talking roughly one inch of movement per fifty feet for each fifty degree Fahrenheit swing in temperature. That's why most installers recommend putting expansion joints somewhere between thirty to forty feet apart along straight sections. Also make sure there's at least half an inch of space left at the end caps so the pipe can contract properly. Using hangers that aren't too tight allows some side-to-side movement as well. And don't forget where to place those downspouts. Putting them right in the middle points helps distribute the thermal stress evenly throughout the whole system instead of concentrating it in one spot.
Preventing leaks with UV-stabilized sealants and strategic joint placement
PVC gutter joints tend to fail mainly because of UV damage over time. To fight this problem, start by using UV resistant solvent cement wherever there are seams. For extra strength, reinforce those snap fit connections with stainless steel screws at the spots where stress builds up. Whenever possible, try positioning joints so they don't get constant sun exposure. Don't forget to seal those end caps properly with silicone that can handle extreme temperatures from -40 degrees Fahrenheit all the way up to 400 degrees. A good rule of thumb for downspouts is to install one every 40 feet along the gutter line. This helps spread out the water pressure across the system instead of concentrating it at certain points. Regular checks once a year about how well the sealants are holding up, plus quick cleanup of any leaves or debris that accumulate, will go a long way toward keeping gutters watertight for years to come.
FAQ Section
How do I measure my roofline for PVC gutter installation?
Use a laser tool or tape measure to get accurate dimensions of the entire roof edge, including angles, corners, and overhangs.
What slope should PVC gutters have?
Experts recommend a quarter-inch drop for every ten feet of gutter length to ensure proper drainage.
How often should downspouts be installed?
Generally, one downspout should be planned for every 40 feet of gutter run.
What are the benefits of using UV-resistant PVC materials?
UV-resistant materials prevent brittleness and color loss due to sun exposure, prolonging the gutter's longevity.
How can I prevent leaks in my PVC gutter system?
Using UV-resistant sealants and ensuring proper joint placement can help prevent leaks.
Recommended Products

Hot News
-
How to choose the right roof tile
2024-01-24
-
PVC Plastic Tiles: The Ideal Roofing Material
2024-01-24
-
The Essentials of Synthetic Resin Tile Manufacturing
2024-01-24